Maavilaku Maavu | How to do Maavilaku Poojai
Maavilaku | Maavu Vilaku | Maavilaku maavu | How to prepare Maavilaku maavu for poojai | Aadi Maavilaku | Thai Maavilaku | Purattasi Maavilaku
Jump to RecipeMaavilaku, a traditional rice flour lamp offered during Aadi(july - August), Thai(Jan-Feb) and Purattasi(Sep-October) Months of the Tamil Calendar. A traditional south-indian ritual, made with rice flour, jaggery and ghee.
When do we do Maavilaku?
Maavilaku, the traditional south-indian offering of rice flour lamp is done during the tamil month of Aadi which falls during july-august and also during Tamil month of Thai, which falls during January-February and Purattasi that falls in September-October of the english calendar.
Amma does Maavilaku for Thai Velli, Aadi Velli, Thai Krithigai, Aadi Krithigai, Purattasi Saturday and Aani Ammavasai. Apart from this some also offer Maavilaku when they do some special poojai like samaradhanai.
How is Maavilaku Done?
Traditionally rice is mixed in milk, left to hydrate for an hour or two, drained for sometime and then ground using traditional grinding stone "Eyanthiram/Ghatti".
This process is done the previous day morning, after taking bath and before having any food.
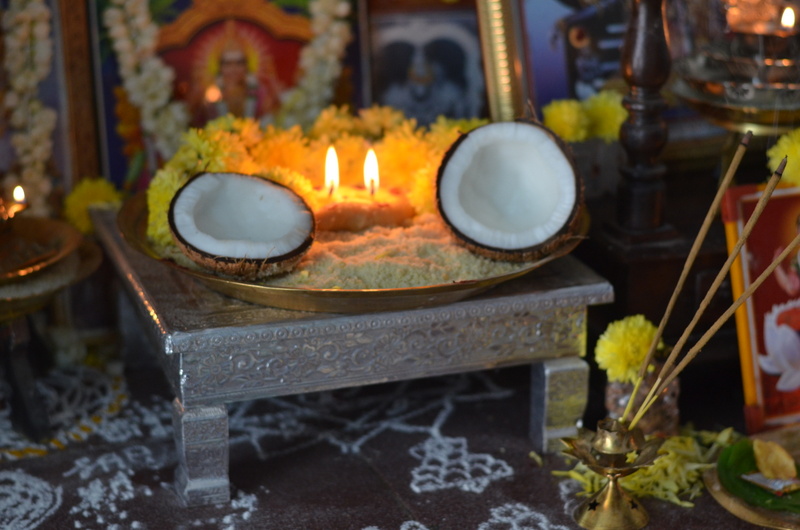
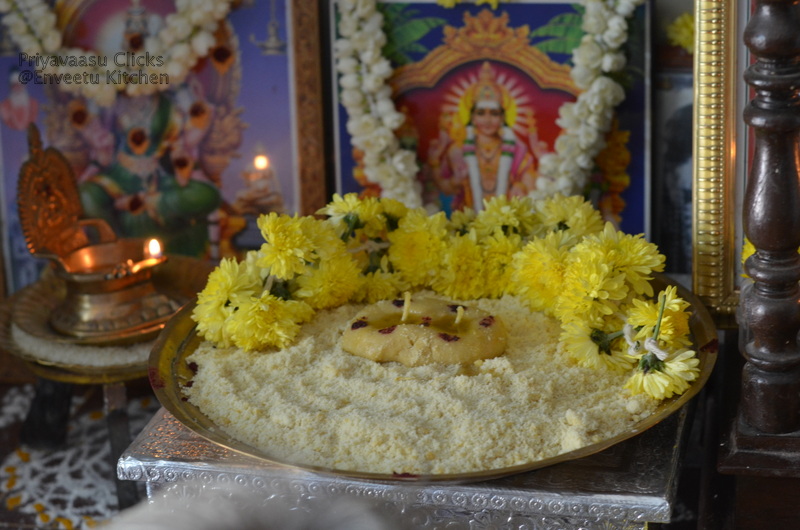
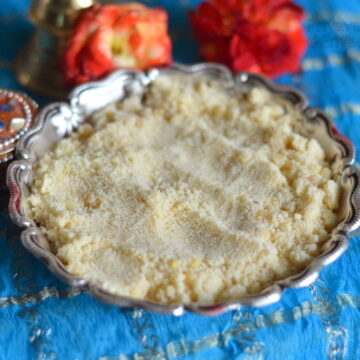
Next day it is sweetened with honey, jaggery and coconut shavings. The prepared rice flour is spread wide on a brass plate or a pooja plate.
Two rice flour lamps are made with the same flour by adding extra milk. The flour lamp is laid with cotton wick, ghee is added and the lamp is lit during the poojai.
The Measurement of Rice is more important while doing Maavilaku.
- It is usually ¼ padi + oru Pidi, meaning Quarter a Padi(yesteryear's measuring Cup) + one fistful. ¼ a Padi is nothing but 2 Cups, and a fistful of rice goes into the making of Maavilaku Maavu.
- Whereas while doing the same Maavilaku for Goddess/Shakthi, it is often only one cup of rice is used. Now, Let's go the recipe now
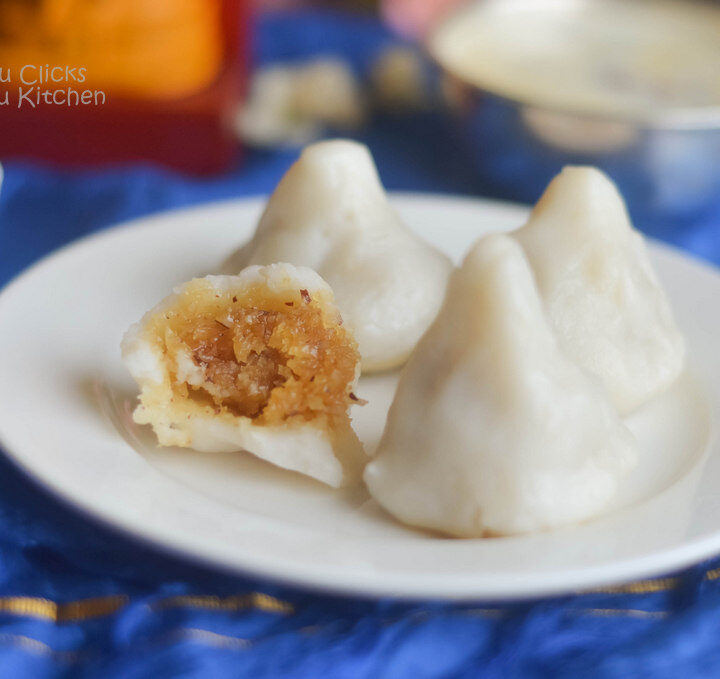
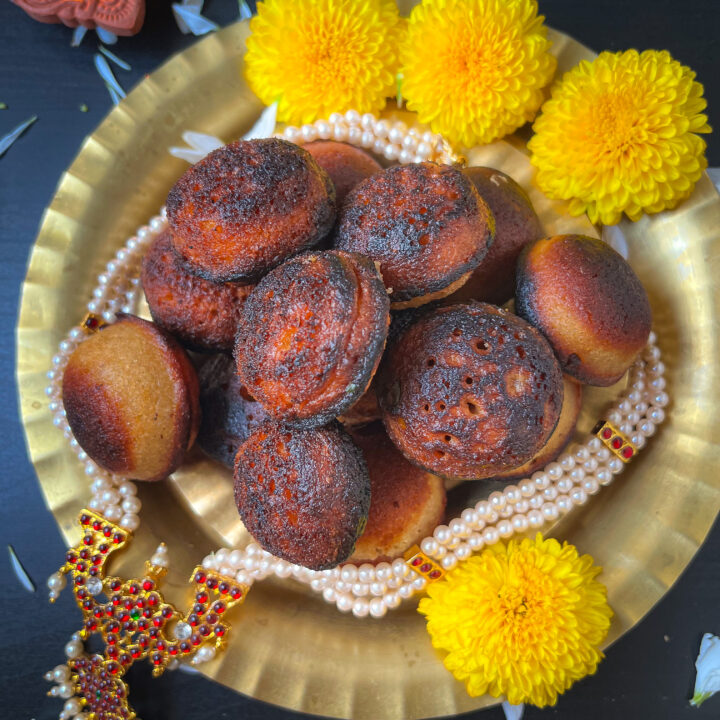
What to cook for Maavilaku Poojai
Step by Step Instructions on how to do Maavilaku
Please check recipe card below for exact measurements of each ingredient used and also for the detailed instructions
- Soak rice in a bowl with milk. Make sure to stir it often so all the rice grains get wet and soak the milk well. Let this soak for an hour. then drain the rice completely.
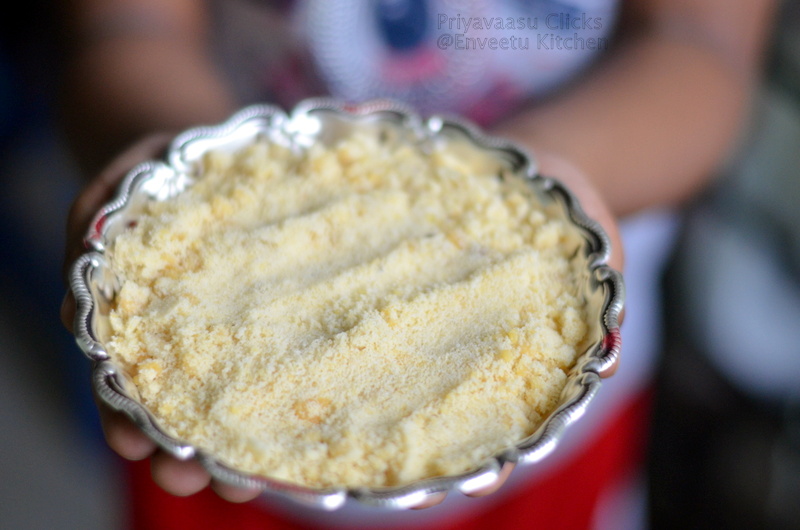
- Take the drained rice in a mixer and grind it to a fine powder. Use a sieve to sift the flour and get a fine powder. Grind the remaining coarse bits to fine powder. Repeat this process as many times as possible and get fine rice powder.
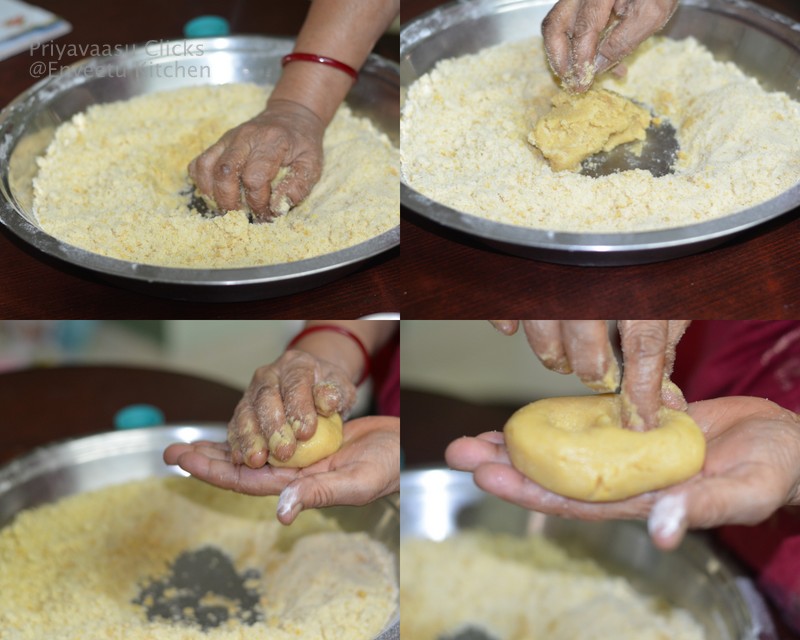
- Take the finely ground rice in a wide plate, add honey, jaggery and ghee and mix it well with your hands.
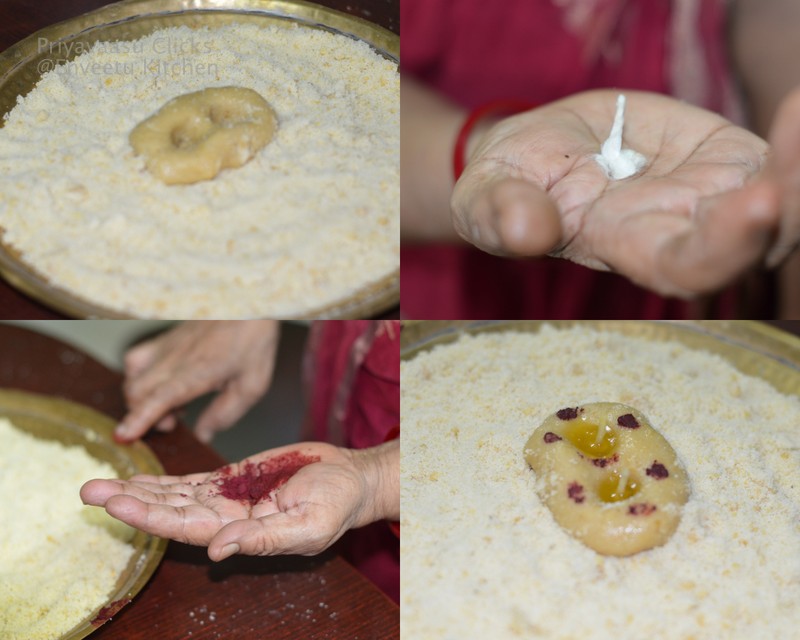
- To make Diya-Shape : Take a handful of rice flour from the plate, add extra 2 tablespoon of milk and make a oval shaped ball. Poke two dents in the middle to hold ghee.
- Keep the plate near the pooja place. Decorate it with vermillion and flowers. Add a cotton wick to the diya and light and do pooja according to the occassion.
- Check below for the pooja details.
How to Prepare Maavilaku Maavu
Maavilaku Maavu | How to do Maavilaku Poojai
Ingredients
- 2 Cups Raw Rice, plus one fistul of rice ¼ Padi + one Pidi
- ¼ Cup Milk + 2 tablespoon Milk
- 3 teaspoon of Honey
- 1 Cup Powdered Jaggery
- ¼ Cup Ghee
Instructions
- Take rice in a bowl, add ¼ cup of milk to it and Mix well. Let this mixture sit for an hour. Stir it ⅔ times during that time. This is done for the rice mixture to remain wet uniform or else the top portion will get dried and the moisture will settle at the bottom.
- Let the raw rice hydrate in milk for an hour. Then drain it completely.
- Take the drained rice in a mixer and grind it to a fine powder. Now while grinding, use a Flour Sieve/Salladai/Channi to get a fine powder. The coarse rice can be ground again to get a fine powder.
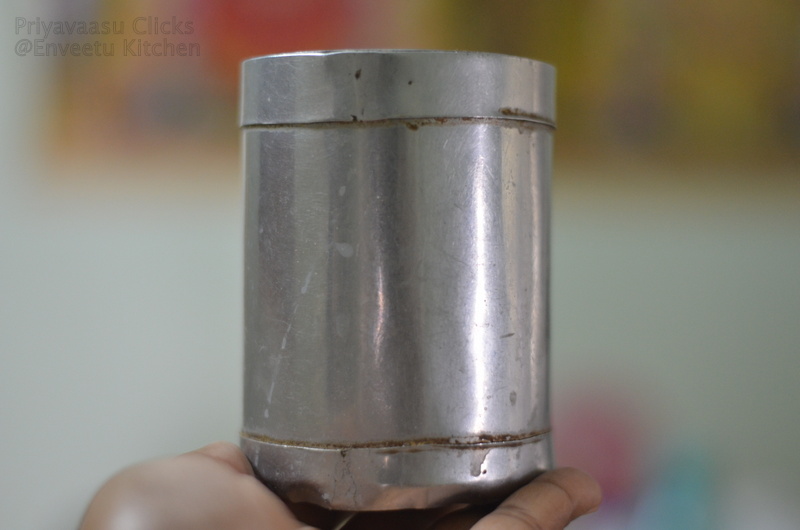
- After grinding and sieving for 4 times, you will be left with a handful of coarse rice ,which cannot be ground further fine, that can be used to make kheer/payasam later. Store it in a Air-tight Container
To Make Diya shaped dough
- Now to make Diya-shaped dough, add the 2 tablespoon milk little by little to the center of the plate and form a ball out of the flour. Make a oval shaped dough ball and poke two finger in the middle to make a dent for holding the ghee for the diya.
- Decorate the plate and Diya-shaped dough with Vermillion. Shape Cotton to a Wick and place in the diya's, Add a teaspoon of Ghee and prepare for the Pooja.
- Since amma was doing the Maavilaku for Aadi Krithigai which is special to Lord Muruga, she decorated accordingly and didthe pooja
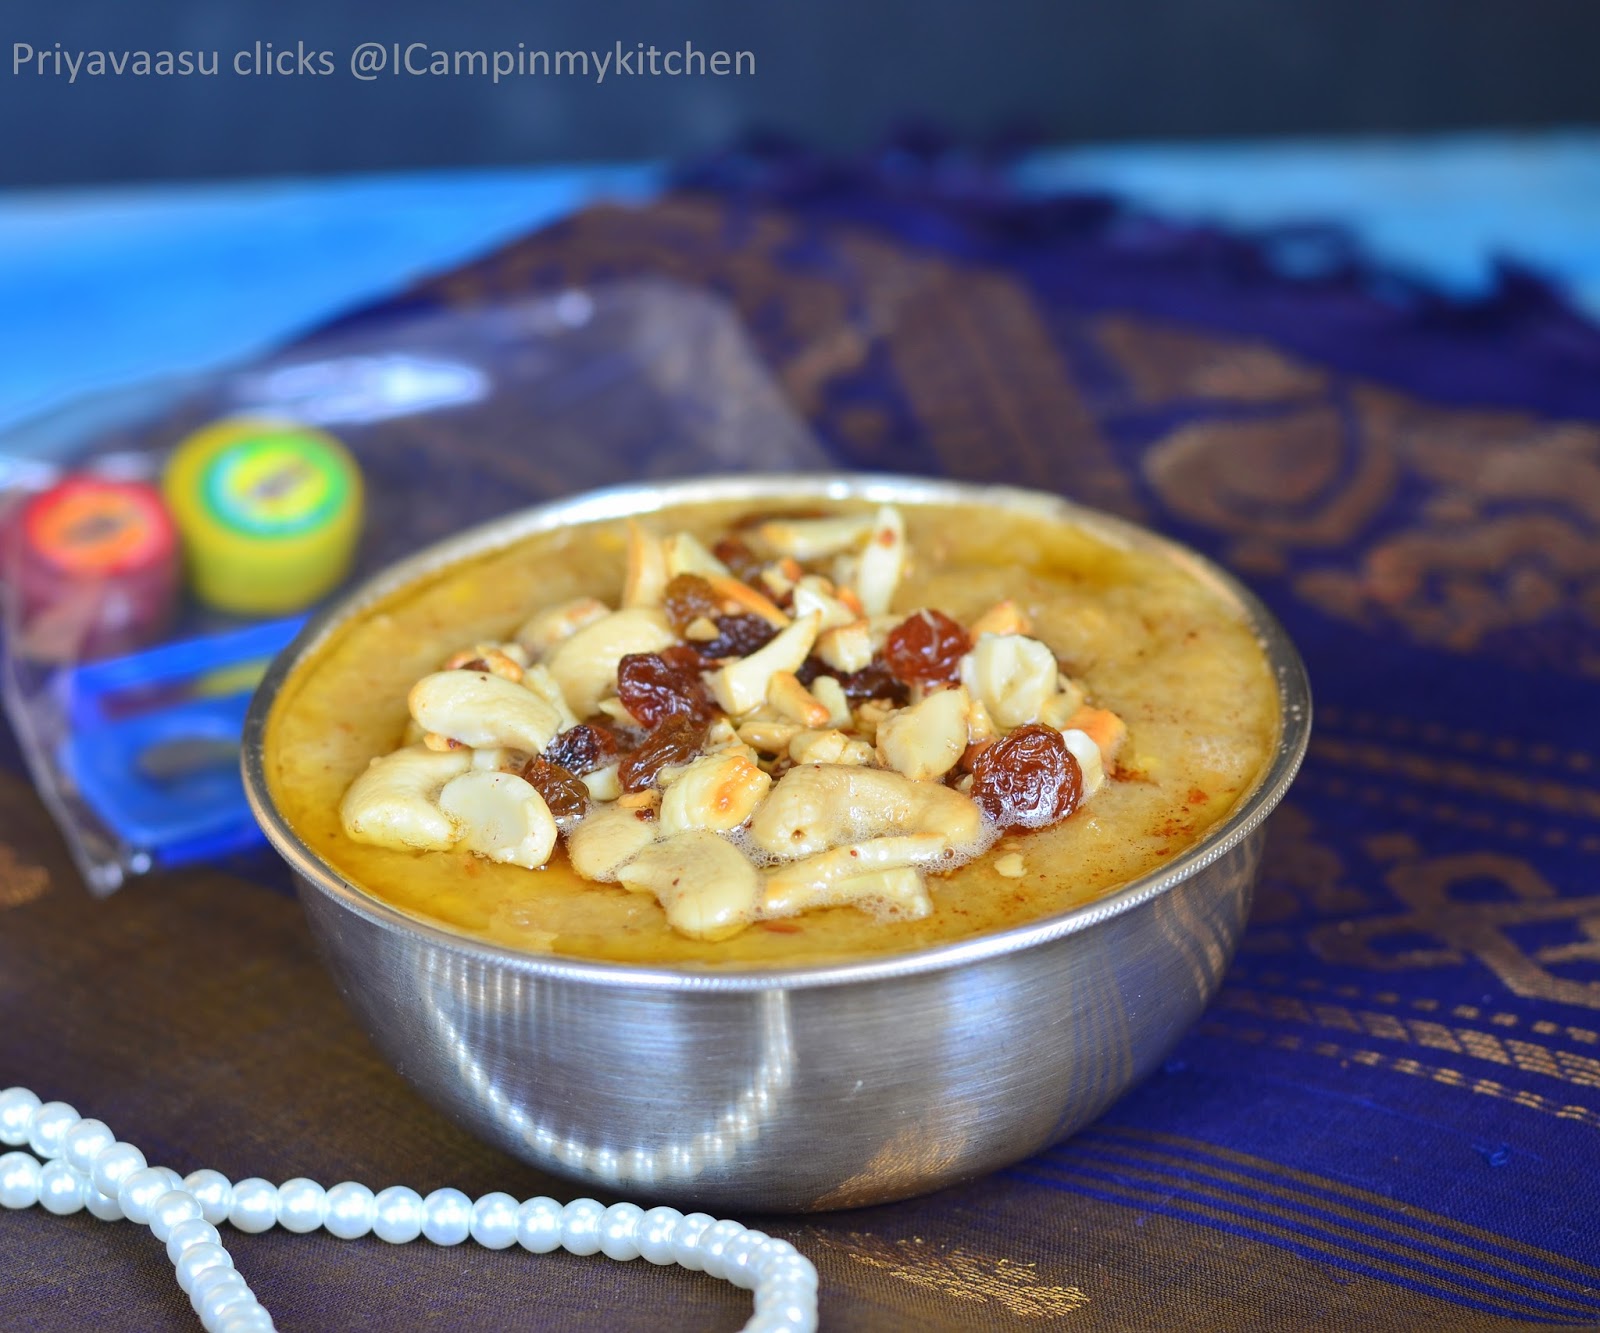
- After the Pooja, while distributing the prasadam, add ¼ Cup grated coconut to the Rice-Jaggery Mixture, Mix well and distribute
Disclaimer
I m not a Doctor or a Nutritionist The Nutrition information provided above comes from the plugin and is only an estimate.
What Slokas to Chant While doing maavilaku pooja
- While doing poojai for Aadi velli and thai velli, after lighting the rice flour diya, I usually chant 108 Durga Ashtothram and do the pooja.
- If doing the Poojai for Aadi Krithigai, Thai Krithigai, the main deity is Lord Muruga. For this we chant 108 Ashtothram for Lord Muruga.
- If doing the poojai for Amavasai/new moon day or Purattasi saturday, the presiding deity here is Lord Venkateshwara. For this we chant 108 Ashtothram for Lord Vishnu.
What to do with the Maavilaku Maavu?
We normally wait for the rice flour lamps to go off on their own. Once this happens, it is removed from the altar and everything is mixed well. We can add some freshly grated coconut shavings to this while mixing.
The elder in the family, takes a pinch of the maavu and sprinkles it on the head of all the other members in the family as a blessing and the rest of the maavu is distributed as prasadam.
The maavilaku maavu after the poojai can be distributed to everyone. Amma usually packs it in small ziploc pouches and shares with all her friends in the colony.
She also invites few of her lady friends to the house, gives thamboolam to them along with the maavilaku prasadam.
PIN the post for later

Very beautifully explained post Priya! Thoroughly enjoyed reading through it and loved your pictorials 🙂
Thanks a Lot Sandhya!!! 🙂
Very well explained with detailed pictures ! Thank you.
Hi This is so beautifully explained. We do this during Sravana masam in (my parents home) for Venkateshwara and during Amavasya on pushya masam ( January for Veeraraghavar.. ( this is my in-laws home tradition). Can you please tell me if you added rice on the plate and on top you put the maavilakku?
Thank you so much!!
hi kranthi
thank you . amma does maavilaku for veeraraghavar during aani month (june-july) . No there is no rice below the maavilaku plate. It is kept on a palagai(wooden board) with kolam.
Fantastic post, So authentic and traditional.U explained it so well
Thanks Jeyashri!!!
informative post.
beautiful cliks n step wise cliks r use ful really..
Thanks Maha
looks super yummy 🙂 lovely clicks dear 🙂
great write up, beautiful clicks... 🙂
interesting post !
Interesting post !! Lovely step by step pics, makes me feel at home 🙂
worth reading every line 😀 loved the photos completely
I had never heard about this before and really enjoyed learning about this important tradition from your culture. I love learning new things like this.
Thank you for providing such thorough, detailed photos and step-by-step instructions! Super helpful!
thanks for sharing this recipe and how you use and enjoy it. I loved learning through your well written instructions and history.
I had never heard of this before until I stumbled upon it this weekend. I gave it a try, and we all loved it so much! It's delicious.
Very interesting! I learned a lot reading this post!