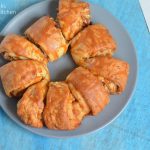
Naan-e-Barbari | Traditional Iranian Flat-Bread
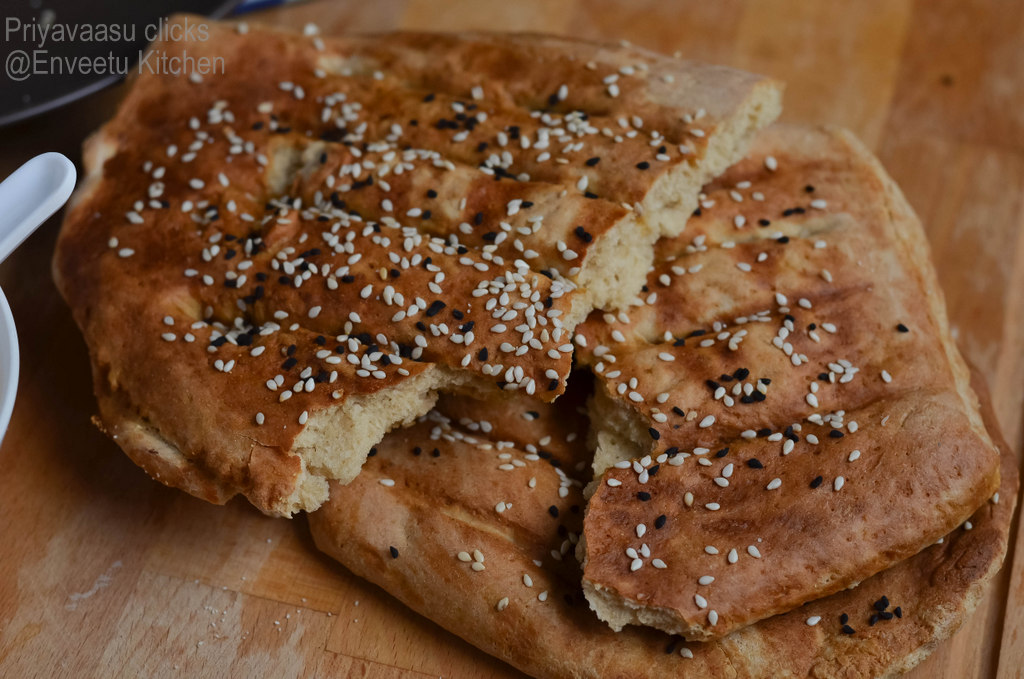
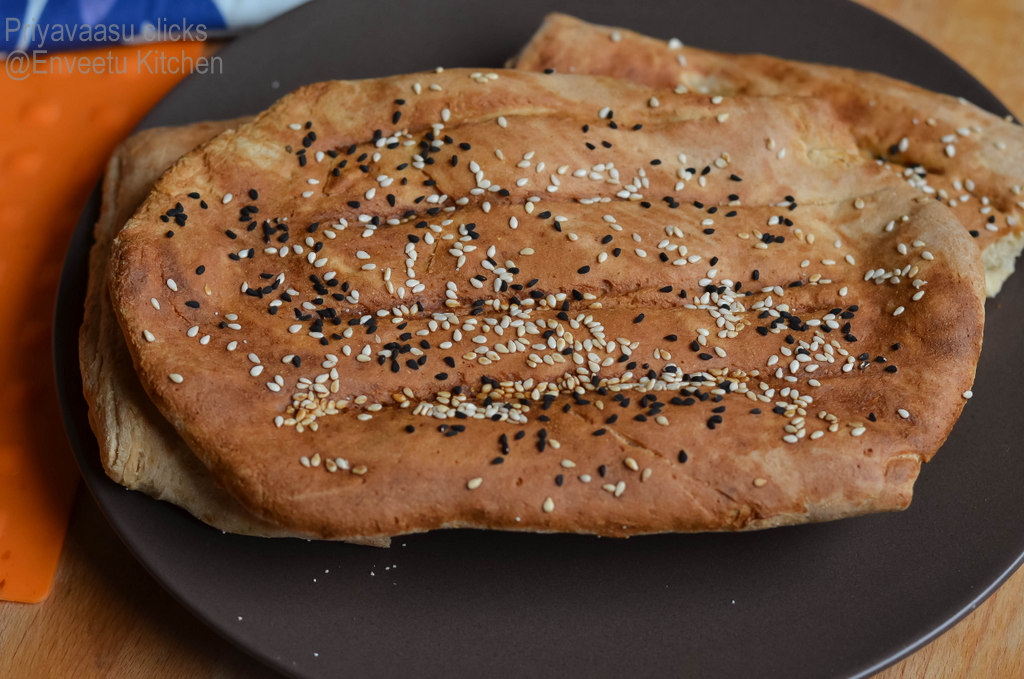
Naan-e-Barbari, traditional Iranian flatbread, also known as Tabrizi Bread or Nan-e Tabrizi. An oval shaped, bread with a crisp outer, soft and chewy texture, often served with various dips.
Arabian Flatbread | Persian flatbread | Flatbread recipes | Naan recipe | Easy Naan Recipe | How to make Persian Naan | Arabic Naan recipe | Tandoor Bread recipe | Arabic Tandoor Bread
Jump to:
Bread Baking is Therapeutic
Do you agree? Mixing plain flour, water, salt, yeast, and a lot of love transforms into a crusty, soft, fluffy bread. I enjoy looking at bread baking in the oven.
It might sound odd, but many bakers share the sentiment. We love to watch, how the bread gradually rises and forms a beautiful crust in the oven.
The aroma of fresh bread and that first slice of warm bread with butter is just pure happiness. Making bread is more than just a task; it's like a comforting hug for the soul.
So next time you see a freshly baked loaf, especially one made at home, think about the love and effort that went into making it.
Few Simple Breads
If you're just starting out with bread baking, you should totally give this German potato bread Kartoffelbrot a go. A simple bread made with flour, potato, and yeast and is super easy to make. Another simple bread to try is Faluche du nord, a classic bread from northern France.
Once you start baking, you'll be hooked! My family and friends love these no-knead pizza rolls, they're a hit. And there are so many other no-knead breads to explore, like these Cheddar garlic rolls. I bet this list has got you excited to start baking!
The Naan-e-Barbari Story
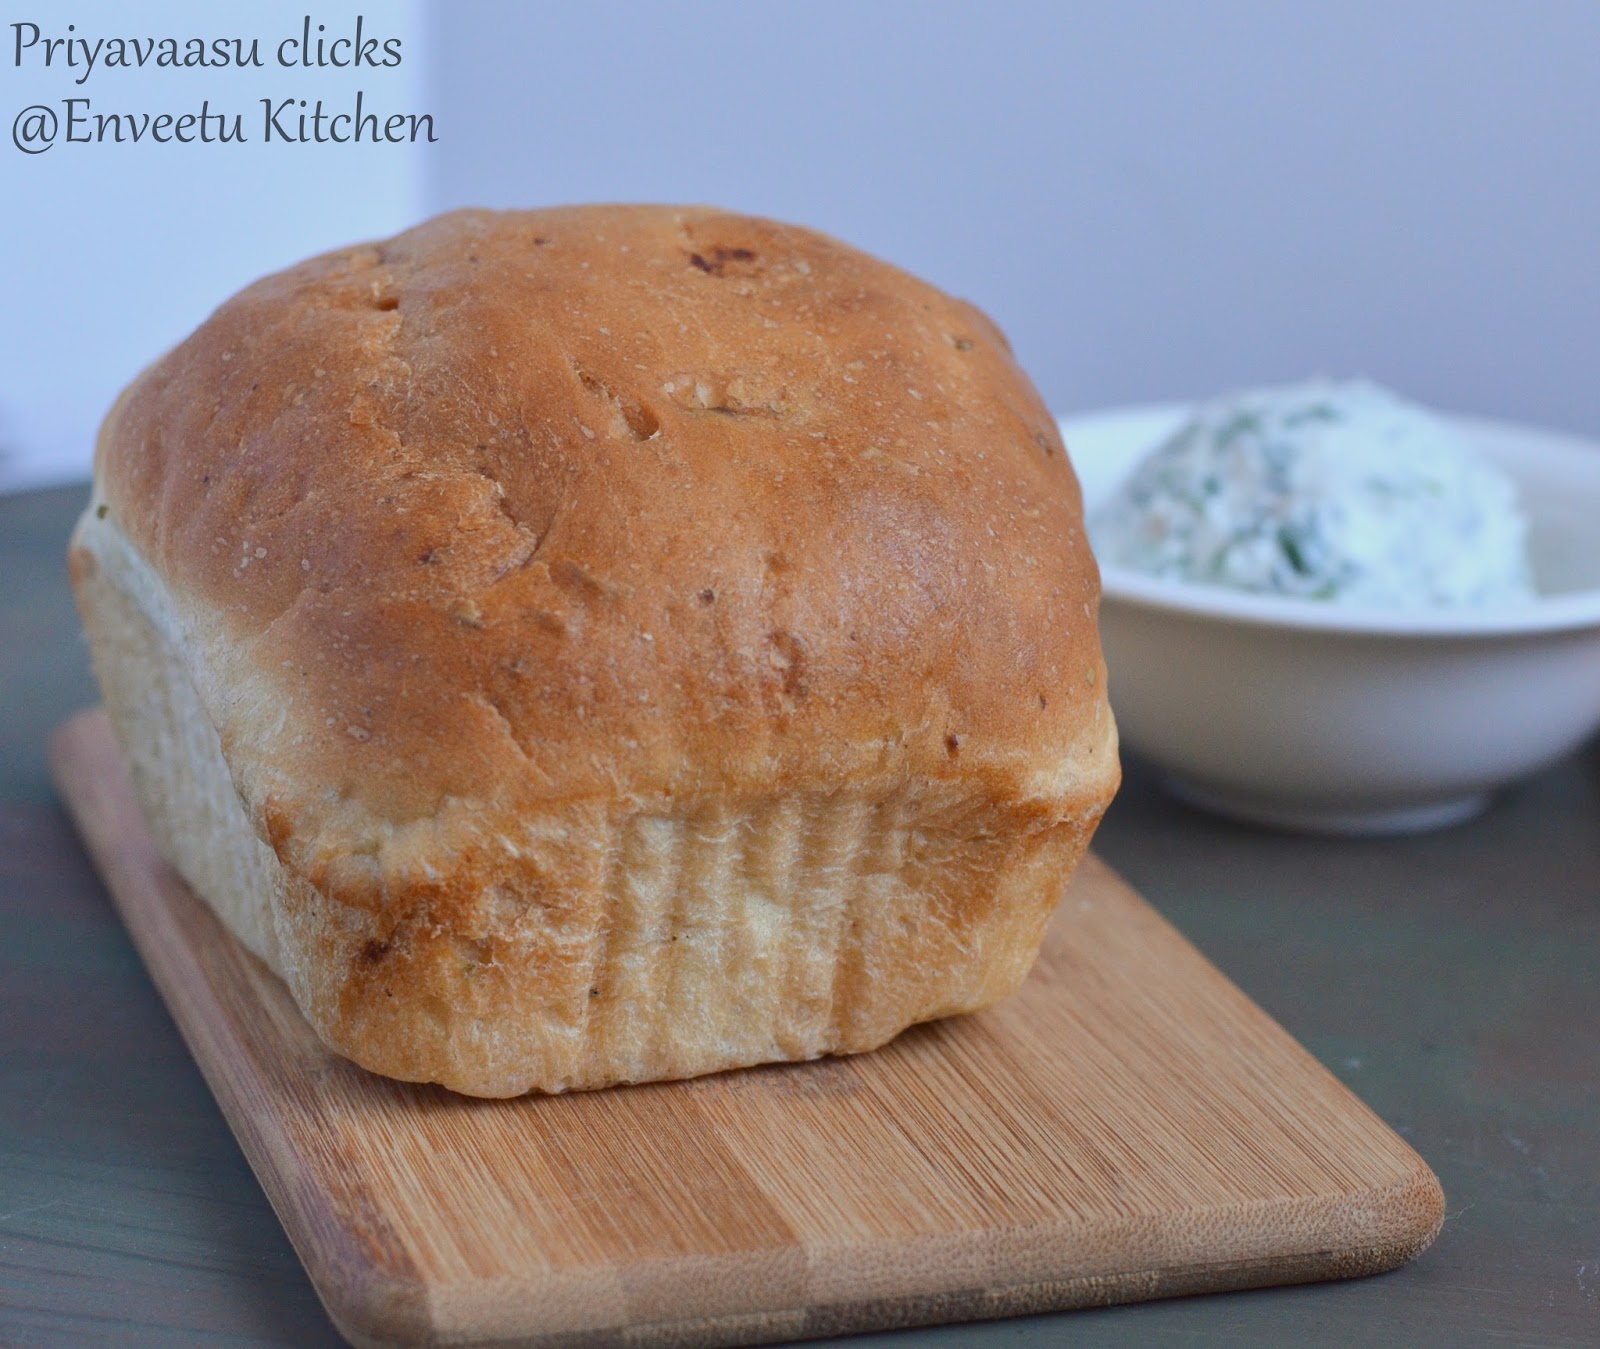
Naan-e-barbari is a traditional Persian flatbread that is popular in Iran and other Middle Eastern countries. It is made with a simple dough of flour, water, yeast, salt, and sometimes a bit of sugar.
The bread is traditionally baked in a tandoor oven, which gives it a crispy exterior and soft, chewy interior. Naan-e-barbari is typically enjoyed with breakfast, served with tea, or used as a base for sandwiches and wraps.
Naan-e-barbari, bread baked by barbars, an ethnic group of people who lived in Iran. Though the name Barbari has been abandoned and no longer applies to the ethnic group, the bread is still referred to as Naan-e Barbari. Hazaras refer to it as Naan-e Tandoori, bread made in the Tandoor oven.
What got my eye in this bread is the use of roomal/baking soda glaze - mixture of flour, water & soda for that beautiful golden color and texture on top.
The Persian | Iranian Flatbread
The dough for naan-e-barbari is made with flour, yeast, salt, and water. The dough is allowed to rise before being stretched and flattened into an elongated shape. It is then topped with sesame seeds or nigella seeds before being baked in a hot tandoor. Since i don't have a tandoor, i baked this beautiful looking bread in the oven.
The high heat of the oven creates a crispy crust on the outside of the bread. While the inside remains soft and chewy. The sesame or nigella seeds add a nutty flavor and a bit of crunch to the bread, making it a delicious accompaniment to a variety of dishes.
How to Serve Naan-e-Barbari
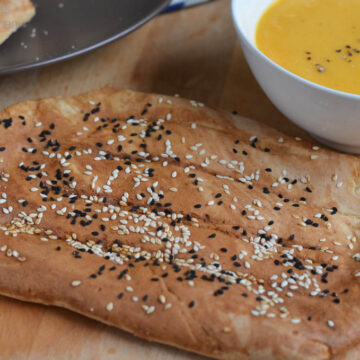
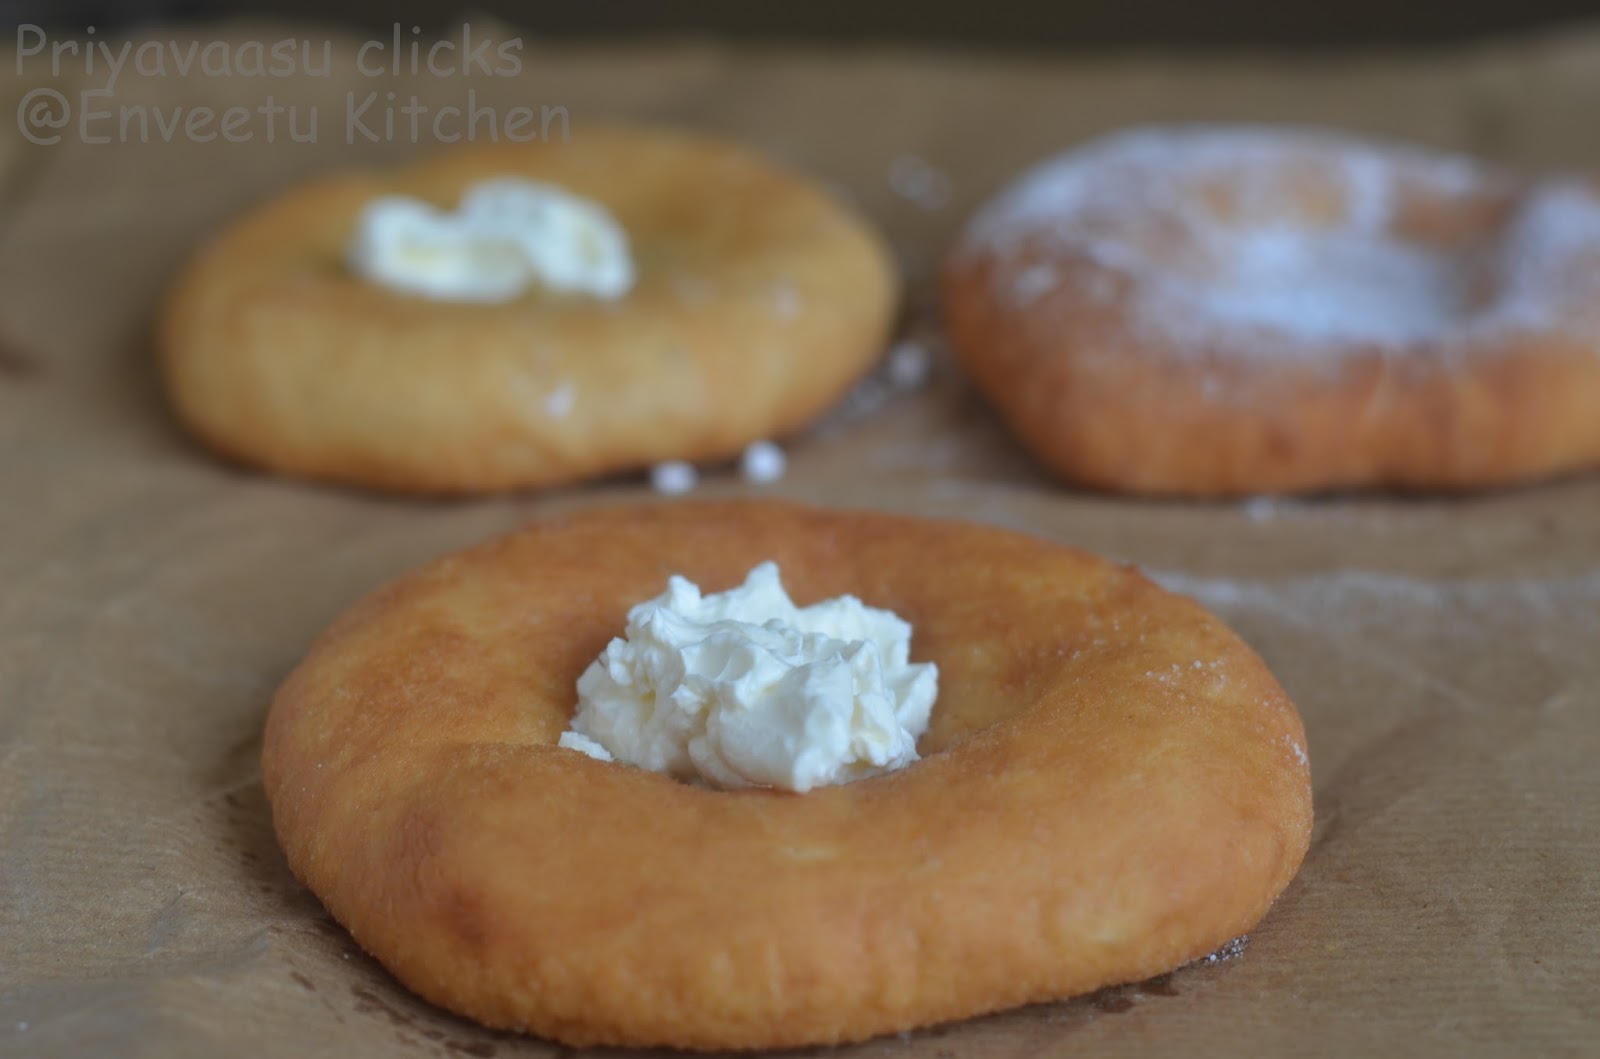
This Persian flatbread is often served warm and torn into pieces for sharing. It can be enjoyed on its own, dipped in hummus or baba ganoush. You can also make delish wraps with roasted garlic for a hearty sandwich.
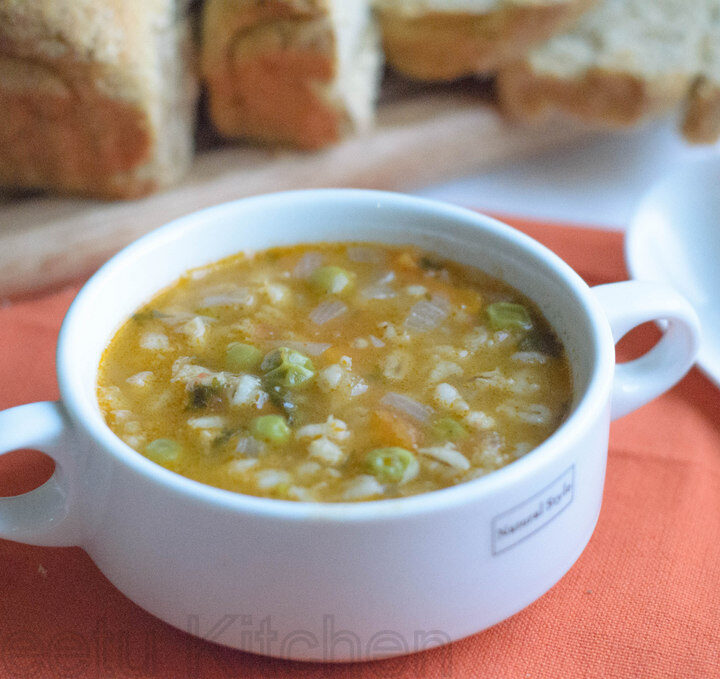
I served this bread along with some potato & carrot soup for dinner today. Such a filling meal it was. I would love mine with some colorful beets mash,roasted vegetables, pickled cucumbers and some grilled halloumi. Like this hearty halloumi sandwich.
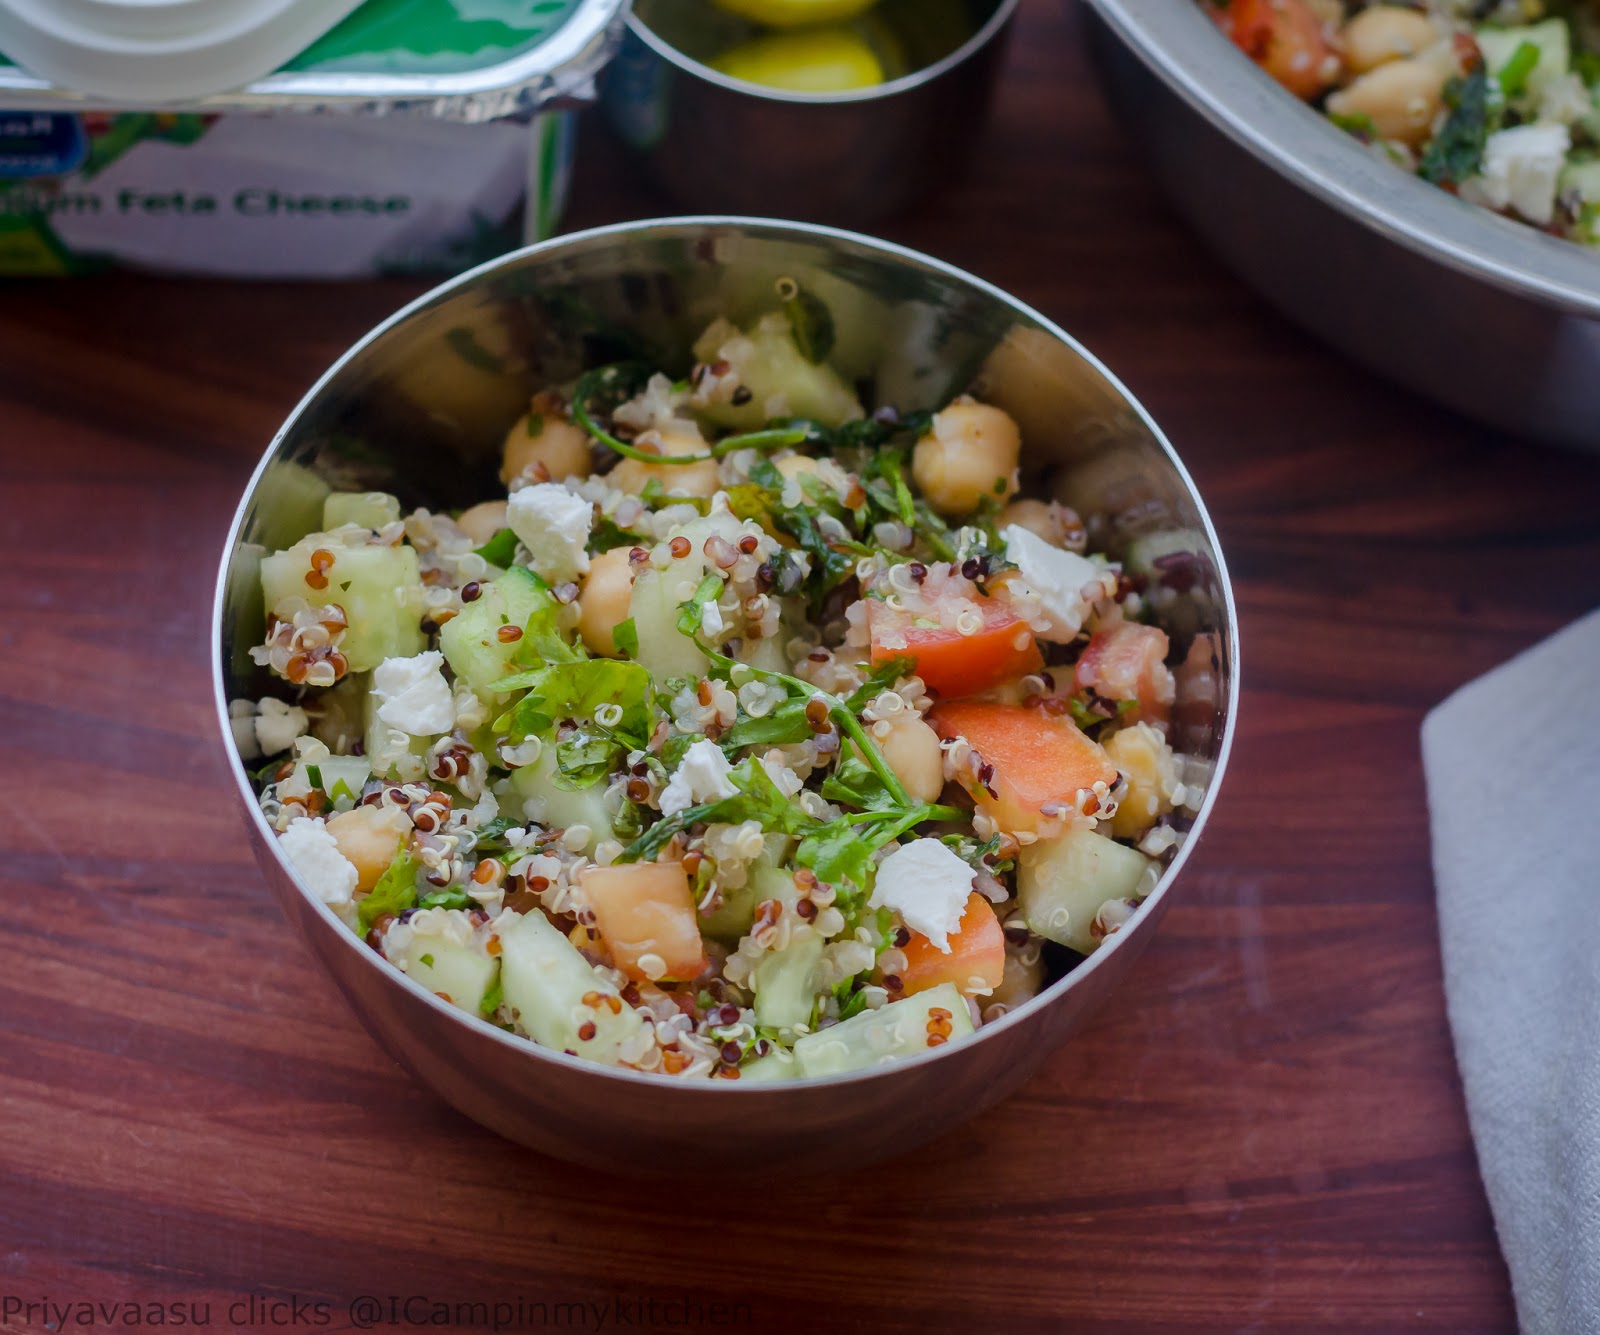
If you love to have soups with your baked breads then check this collection of delicious soups and salads.

Salads & soups

Step by Step instructions to Naan-e-barbari
Please check recipe card below for exact measurements of each ingredient used and also for the detailed instructions
- First and foremost keep all ingredients at room temperature, except for the water needed to make the dough which has to be lukewarm to activate the yeast.
- Water should be lukewarm, like when you dip your finger into water, it should feel hot, not scalding hot. Scalding hot & cold water both would kill the yeast.
- I use my food processor to make the bread dough. So, in a processor bowl, take honey, lukewarm water and yeast and run it once for it mix well and yeast to dissolve.
- Now to this add half the mentioned flour and pulse 2-3 times. let this sit for 20 minutes.
- After the said time, the batter would be spongy. To this now add remaining flour, baking powder and salt. Knead to make a soft and spongy dough and comes easily off the sides of the food processor.
- Remove the dough on to the kitchen surface, oil your hands and start kneading the dough. Hold the dough in both hands and flip it over and beat it down hard on your work surface while still holding it. It is just like how we use to wash our clothes before the washing machine era
- Fold the dough in half away from you, and repeat this beating motion a few times until your dough is really soft and smooth. Your dough should pass the window pane test.
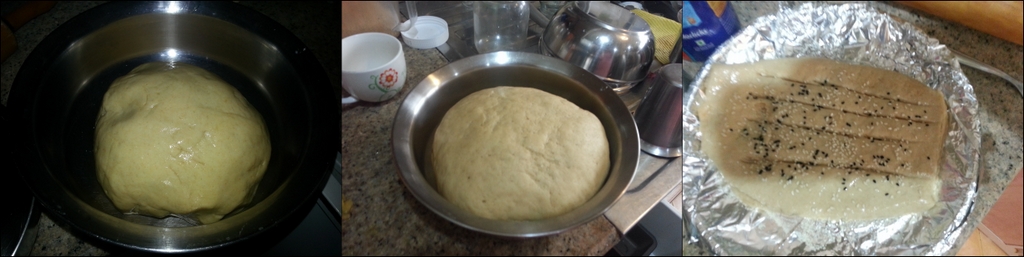
- Shape the dough into a ball and place it in a bowl and cover. Let it rise until double in volume.
- In the meanwhile prepare the "Roomal" or baking soda-flour glaze for the bread. I mixed everything and chucked into the microwave for 2 minutes @ medium heat. It can be made on the stove-top too. Let it cool down completely.
- After the dough doubles, remove it to the work surface. Divide into equal portions and let it sit covered for another 30-40 minutes for second proofing.
- Once it doubles, Place a ball of dough on a lightly floured work surface. Using your fingers lightly press out into an oval approximately 7" by 5".
- Brush the entire surface of the dough well, with the "Roomal" or baking soda-flour glaze.
- Dip your fingers in the "Roomal" and then use them to form 4 lengthwise furrows.
- Transfer it to a baking sheet dusted with semolina. Allow the ovals to rise for about 20 minutes till they're nice and puffy.
- Bake them at 200C for about 20 minutes till they're done and golden brown. Serve them warm with cheese or a dip or just plain with a hot cup of coffee or tea.
If you have tried this recipe and like it, give it a star rating or let me know in the comments below. You could also share it with me on Instagram using #icampinmmykitchen and tagging me @priyasrinivasan. You could follow me and my recipes on Facebook | Instagram | Pinterest | twitter
More Yeast Breads
Recipe
Naan-e-Barbari | Traditional Iranian Flat-Bread
Ingredients
For the dough
- 1 ½ teaspoon active dry yeast
- 1 ½ teaspoon honey
- 1 ½ cups warm water at 45C/ 90F
- 1 ¼ cups all-purpose flour
- 2 cups of whole wheat flour
- ½ teaspoon baking powder
- 1 teaspoon salt
- Nigella seeds / Sesame seeds/ Poppy seeds to sprinkle i used both nigella & sesame seeds
For the Roomal/baking soda-flour glaze:
- ½ teaspoon flour
- ½ teaspoon baking soda
- ⅓ cup water
Instructions
- Take yeast, honey and the warm water in the food processor bowl and pulse a couple of times to mix, and allow the yeast to dissolve. Then add 1 ¼ cups of flour and pulse a couple of times so you have batter-like mixture. Leave this in the bowl for about 20 minutes.
- The mixture in the food processor bowl should be "spongy" looking by now. Add the remaining flour, baking powder, salt and process until you have a pliable dough that comes away from the sides of the bowl.
- Turn out the dough onto an un-floured working surface. The dough might stick a little to your surface and if you find it difficult to work with this, lightly oil your work surface or use a dough scraper. Do NOT add flour! I added oil to the dough first and started working it.
- Hold the dough in both hands and flip it over and beat it down hard on your work surface while still holding it. It is just like how we use to wash our clothes before the washing machine era. The dough will stretch a bit and the other end will land on the work surface with a "thwacking" sound. Fold the dough in half away from you, and repeat this beating motion a few times until your dough is really soft and smooth. Your dough should pass the window pane test.
- Shape the dough into a ball and place it in a bowl and cover. Let it rise until double in volume. Though there is no need to oil the bowl, i oiled the bowl well and placed the dough inside for proofing. I left the dough for about 2 hours, since it is a bit chill here now.
Let us make Roomal
- In the meanwhile prepare the "Roomal" or baking soda-flour glaze for the bread. Put all the ingredients together in a microwave-safe mug, Microwave cook @ medium heat, for 2 minutes, until the solution thickens a bit. Take it out and let the solution cool to room temperature. The same can be prepared on a stove-top, just whisk everything together in a pan, heat until boils and forms thick and spreadable solution
Divide & Second Proof
- Lightly flour your work surface. Turn out the dough onto it (do not knead) and divide it into four equal pieces. Shape each piece into a ball and place them apart on a sheet and cover with a towel and allow to rise for another 30 -40 minutes, until double its volume
Let us make the flat-bread
- Work on one ball of dough at a time, keeping the others covered so they don't dry out. Place a ball of dough on a lightly floured work surface and, using your fingers (lightly dust them with flour if you feel the need), lightly press out into an oval approximately 7" by 5". Brush the entire surface of the dough well, with the "Roomal" or baking soda-flour glaze.
- Dip your fingers in the "Roomal" and then use them to form 4 lengthwise furrows. You can press down almost to the bottom, as the "furrows" will disappear once the dough rises. I didn't get it properly with my fingers, so i used back of a spoon to make the same. Dip the back of spoon in roomal and press it on the dough to form a furrow. Sprinkle the Nigella seeds over the surface of the furrowed ovals.
- Transfer it to a baking sheet dusted with semolina. The oval will elongate slightly when you pick it up. Otherwise, very gently stretch the oval from both ends making sure it is uniformly thick along its length and breadth. Allow the ovals to rise for about 20 minutes till they're nice and puffy.
- While the ovals are resting, preheat the oven to 200C.
- Bake them in a preheated oven, for about 20 minutes till they're done and golden brown. Serve them warm with cheese or a dip or just plain with a hot cup of coffee or tea. I served them hot with some Soup for snack.
- Any leftover bread, can be stored on the kitchen counter, tightly wrapped for a day or two. If storing more then better to refrigerate or better freeze. Enjoy it warm. since i made just 4 small ovals, it got over the same day for me.
Nutrition
Disclaimer
I m not a Doctor or a Nutritionist The Nutrition information provided above comes from the plugin and is only an estimate.
Nice series. Who knew there were so many varieties of naan.
This is definitely very nice..
all information are very useful, recently watched some travel show where they have shown many varieties of bread of naan. it was good to see u tried some new variety. nice pictures.
That's one awesome variety Priya..good series!
Very nice naan recipe. I thank all you friends for this Lovely Naan series and Specially Srivalli for this theme
Definitely am gonna try this naan, all the informations are seriously very useful. Incredible naan again.
Yummy looking naans.
nigella and sesame must give breads awesome flavor
The soda glaze for this enthnic bread looks so inviting and delish priya. The oven has been beckoning me for too long, must dust away thr lethargy ans start baking again 🙂
Shape looks like a naan, so can relate to the name naan-e-tandoori. Bread has turned out perfect looks like a store bought bread. Wonderful recipe!
Agree there is no therapy like baking! Love the way the bread rises and the aroma....! Anyway I have been looking around for this naan e barbari and thankfully found it here. The dough is mixed and rising. Thanks, dinner is sorted.
Wow, this is an exotic naan. Will definitely try this naan using the roomal. Goes well with curries and daal. A unique variety of naan. Nice post.
Wow, Naan -e -Barbari looks so beautiful and I love it. I can actually eat it on its own. Haven't baked it at home in a long time.
Though I am a bit slow when it comes to bread making this is such an easy recipe to make and perfect. I was so amazed it came out perfect when I made it the first time itselF. Thank you.
Ooh Priya, wow the bread looks delicious.. I have never made this kind of bread so definitely adding it to my list of recipes to try.